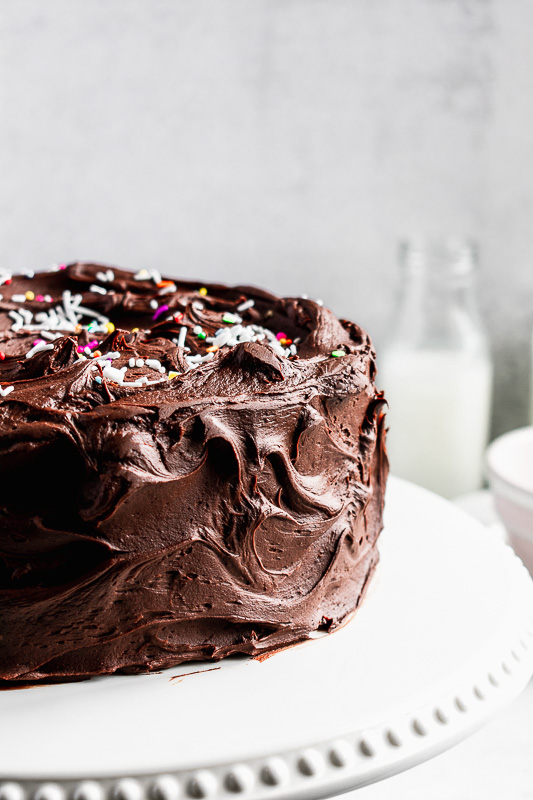
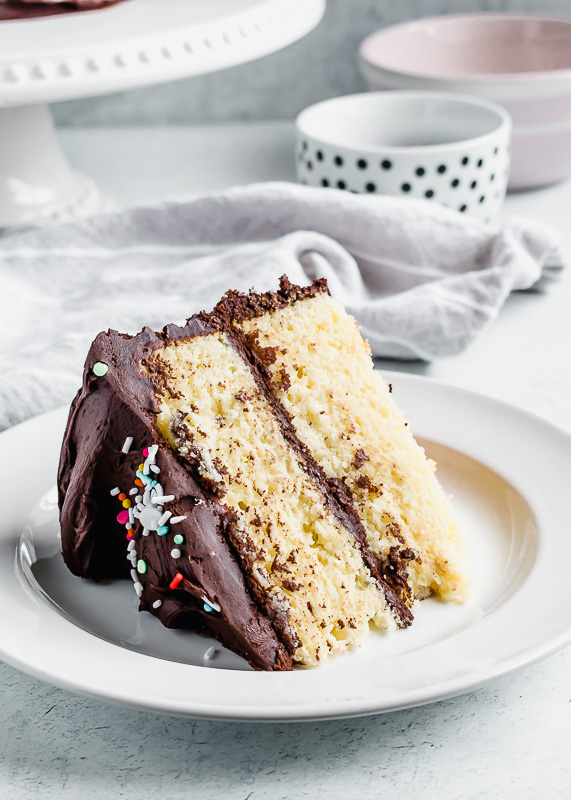
This classic yellow birthday cake recipe is one that you’ll want to keep around for any special occasion! It is moist, full of flavor and topped with a fudgy dark chocolate buttercream that you just won’t be able to resist! This is the best yellow cake recipe for any birthday. Top with sprinkles for a fun, festive touch!
This post contains affiliate links. This means I may earn a commission should you choose to make a purchase using my link. It’s okay – I love and use all of these products, and you will too!
I hit a pretty big milestone last week – I finally reached 1,000 followers on Instagram! It hasn’t been easy, but it sure is nice to see that 1,000 individuals are interested in seeing MY recipes! So cool. So to those who follow and engage with me on Instagram – THANK YOU! This is one of the biggest ways that you can support my business, so I greatly appreciate it. And, if you’re not following me on Instagram, then head over and let’s be friends!
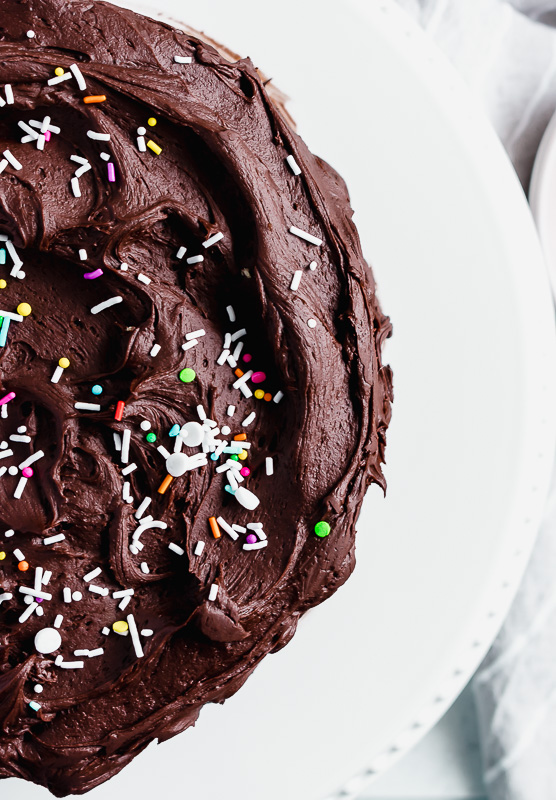
Coincidentally, this is also my birthday month! I feel like there are a lot of April babies. In honor of my birthday month and hitting my Instagram milestone, I decided to make a classic, two layer yellow birthday cake topped with dark chocolate fudge buttercream to celebrate! I don’t know what it is about yellow cake and chocolate frosting, but it’s one of my favorite cake flavor pairings!
If you are in the market for a delicious yellow birthday cake, you’re in the right place!
Tips for Making Yellow Cake
After doing a bit of research online, I found some pretty amazing tips on how to make the best tasting classic yellow cake! For me, I wanted my cake to have that familiar yellow boxed cake flavor, but better. Well, this hit the nail on the head in my opinion!
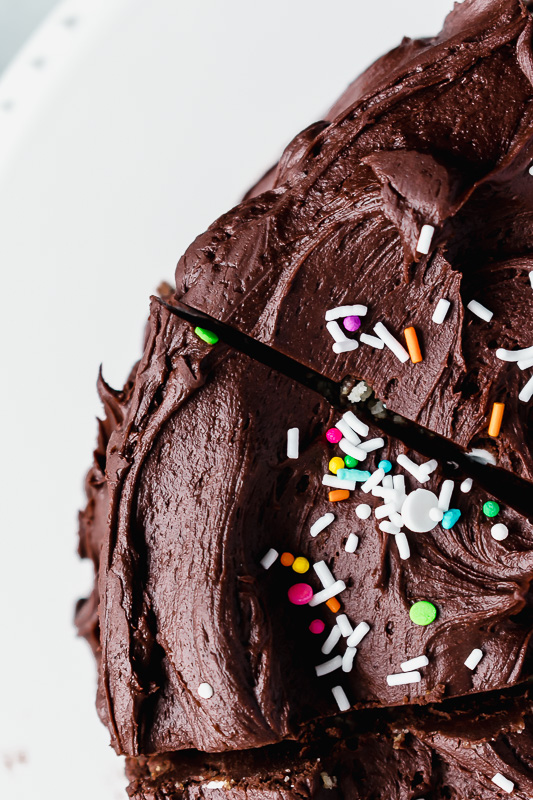
If you’re making this yellow birthday cake, you’ll want to be sure you don’t leave out any of these key ingredients:
- Cake Flour – if you want a fluffy and buttery texture, be sure to use cake flour in this recipe. It’s a finer flour that won’t weigh down the textures and flavors of your other ingredients, such as butter! I would stear clear of all-purpose flour in this recipe, otherwise, you’ll have a super heavy and dense cake. My favorite cake flour to use is Swans Down Cake Flour.
- Whipped Egg Whites with Cream of Tartar – during one of the final steps in the recipe, you’ll fold in some whipped egg whites. I discovered that, when you have a batter that is loaded with butter and egg yolks (such as this one), the cake can get a bit heavy. Introducing light and airy whipped egg whites brings some fluffiness back into the cake! Add cream of tartar when whipping your egg whites to help keep the fluffy structure when you begin folding these into the batter. If you don’t have it on hand though, you can leave it out!
- Buttermilk – ah. I love using buttermilk in cake recipes. It gives the cake a ton of yummy flavor and moisture. But, be sure to use full-fat buttermilk! The fat is really what gives the cake that moist texture.
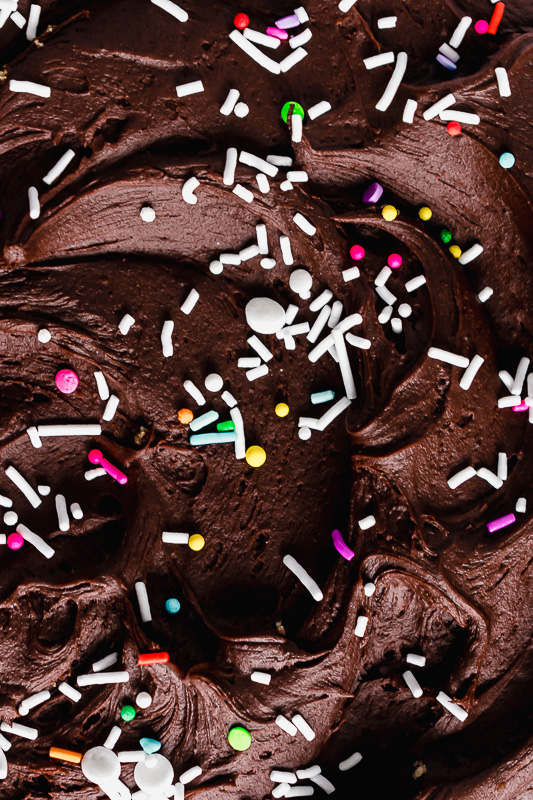
I also highly recommend using Dutch-processed cocoa powder for the frosting. That is, if you really like dark chocolate! This cocoa powder is rich and will give the chocolate fudge frosting for this cake a nice, deep chocolate flavor. I love using Rodelle Cocoa Powder in almost any chocolate dessert.
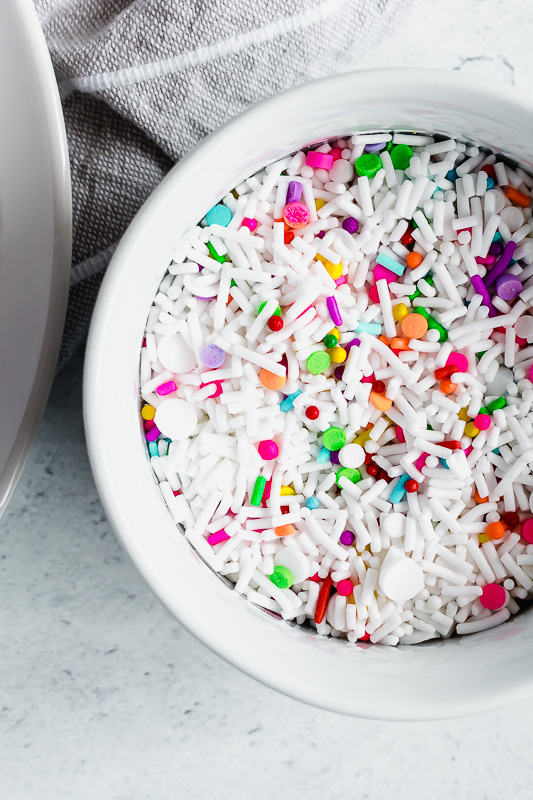
Lastly, my adorable sprinkles are from Sweetapolita! They have the most unique sprinkles. So fun!
High Altitude Adjustments
For reference, I live at 5,800 feet. These adjustments would likely give you the result that you are looking for if you live within a few hundred feet of where I am at. But high altitude baking can be a lot of trial and error! I’ll provide my explanations below for each adjustment I made. This should then give you a starting point to go off of to experiment with your own ingredients at whatever elevation you live at! I would also recommend checking out this guide here.
- Flour – increase by 2 tbsp. Additional flour helps to strengthen the structure of the baked good so that it will rise correctly. At 3,500 feet, add 1 more tbsp. of flour per recipe. For each additional 1,500 feet, add one more tablespoon.
- Baking Powder – decrease to 1 tsp. You can see this table on King Arthur’s website for how to adjust leavening agents for higher elevations (scroll down a ways to the “Leavening” section on their site). For my elevation, I typically cut all leavening agents in half. This allows for the right chemical reactions to happen between the other ingredients for the perfect rise. If there is too much leavening within the batter, not all of it gets used up (not all of it reacts with the other ingredients), so you are left over with a soapy bitter-tasting baked good due to the excess baking soda or baking powder in the batter.
- Granulated Sugar – decrease by 1 1/2 tbsp. This should hold true at most high elevations. Always decrease your sugars by 1 tbsp. per cup.
- Eggs – use 5 yolks instead of 4. This will keep the baked good from drying out at a higher baking temperature and evaporation rate. If I am baking a cake or cupcakes, I like to add one more egg to increase the liquids in the recipe. This should hold true at most higher elevations, but experiment with it, of course!
- Increase oven temperature to 360° F. Since rising and evaporation proceed more quickly at higher elevations, you will want to use a higher baking temperature to set the structure of the baked goods so that they don’t sink in the middle and dry out on the edges. I recommend starting with increasing the baking temperature stated in the recipe by 15° F and go up from there in small increments (all the way up to 25° F increase if needed).
- Decrease baking time by 5 or more minutes. This is because you will be baking at a higher temperature. You don’t want your cake to burn! I usually decrease by 5-8 minutes per 30 minutes of baking time and adjust from there. Keep a close eye on your dessert in the oven while you are experimenting with time and baking temps.
If you have specific questions on high altitude adjustments, feel free to contact me and we can work them out!
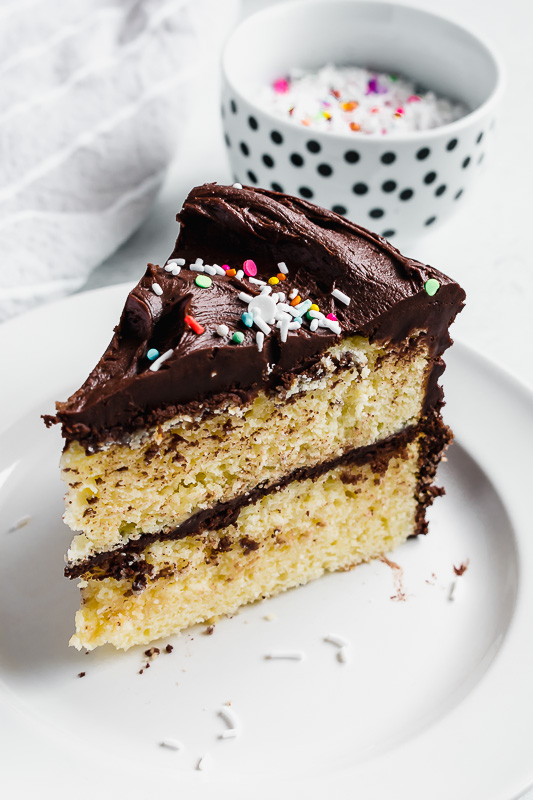
I hope that you enjoy making this classic yellow birthday cake for someone’s special day! Or just because. Do we really need a reason to make cake?!
If you’re looking for other delicious cake recipes, head over to my Cakes & Cupcakes page! My personal favorite is the Oatmeal Chocolate Chip Cookie Cake.
And as always, be sure to tag me in your photos on Instagram if you make my recipe or use #bucketsofyum in your photos! I love to see what you are baking.
Follow me on Pinterest for other fun and delicious baking ideas!
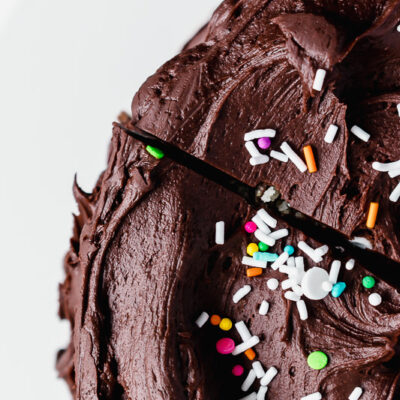
Classic Yellow Birthday Cake
Ingredients
For the Yellow Cake
- 2¼ cups cake flour
- 2 tsp baking powder
- ¼ tsp baking soda
- ½ tsp salt
- 1 cup unsalted butter (2 sticks at room temperature)
- 1¾ cups granulated sugar
- 4 large egg yolks (room temperature)
- 2 tsp vanilla extract
- 1 cup full-fat buttermilk (room temperature)
- 2 egg whites (room temperature)
- ⅛ tsp cream of tartar
For the Dark Chocolate Fudge Buttercream
- 1¼ cups unsalted butter (2½ sticks at room temperature)
- 3-4 cups powdered sugar
- ¾ cup unsweetened cocoa powder (I like Dutch-processed)
- 3-5 tbsp heavy cream or milk
- ¼ tsp salt
- 1 tsp vanilla extract
- sprinkles for decorating
Instructions
For the Yellow Cake
- Please see notes section below for high altitude adjustments.
- Preheat oven to 350°F. Grease two 9-inch round cake pans and line with parchment paper rounds and grease the paper. I like to use Pam for Baking for the spray.
- Whisk together the cake flour, baking powder, baking soda, and salt in a large bowl and set aside.
- In the bowl of a stand mixer fitted with the paddle attachment, or with a handheld mixer in a large bowl, beat the butter and sugar together on high speed until very light and fluffy (about 3 minutes). Scrape down the sides of the bowl.
- Turn the mixer to low and add the egg yolks one at a time until fully incorporated. Beat in the vanilla extract.
- Add about ⅓ of the dry ingredients and ½ of the buttermilk. Beat on low speed until combined. Add another ⅓ of the dry ingredients and the rest of the buttermilk and beat until combined. Finish with the dry ingredients and beat until just combined, but do not overmix. The batter will be thick.
- In the meantime, whip the egg whites and cream of tartar in a small bowl with a handheld mixer on high speed until stiff peaks form (about 3 minutes). Gently fold the egg whites into the cake batter until incorporated. Do not overmix otherwise the egg whites will deflate!
- Pour/spoon the batter evenly into the two cake pans and bake for 25 – 30 minutes, or until a toothpick inserted in the center comes out with a few moist crumbs. Cool cakes completely on a wire rack in the pan before assembling and frosting.
For the Dark Chocolate Fudge Butter Cream
- In the bowl of a stand mixer fitted with the paddle attachment, or with a handheld mixer in a large bowl, beat the butter on medium speed until creamy (about 2 minutes).
- Add in the powdered sugar, cocoa powder, heavy cream, salt and vanilla. Beat on low speed for 30 seconds, then increase the speed to high and beat for 1 minute. Add additional powdered sugar or heavy cream if the frosting becomes too thin or thick.
Assembling the Cakes
- Once cakes are cooled, remove from the pan and level the tops off with a serrated knife. You can discard the scraps, but I like to save them to put on ice cream!
- Place one cake layer on a cake plate or stand and evenly top with frosting. Place second cake layer on top of the first and apply a thin layer of frosting all around the cake layers and on the top (this is called a crumb coat and seals in the crumbs for a smooth finish!). Refrigerate cake for 15 minutes.
- Continue to frost with the remainder of your chocolate frosting. I like to use an offset spatula to create pretty swirls on the cake. Top with sprinkles. Refrigerate cake for 30 – 60 minutes for neater slices, or just dig in and enjoy!
Notes
- Cake can be stored at room temperature in an airtight cake container for 1 day or in the refrigerator for up to 5 days.
- You can freeze individual slices of cake to pull out to eat later if you wish! Simply slice the cake and wrap each piece in plastic wrap and aluminum foil. Store the wrapped slices of cake in a freezer bag. When ready to eat, pull a slice of cake out of the freezer, unwrap and set on a plate at room temperature until thawed.
- Flour – increase by 2 tbsp.
- Baking Powder – decrease to 1 tsp.
- Granulated Sugar – decrease by 1 1/2 tbsp.
- Eggs – use 5 yolks instead of 4
- Increase oven temperature to 360° F
- Decrease baking time by 5 or more minutes
