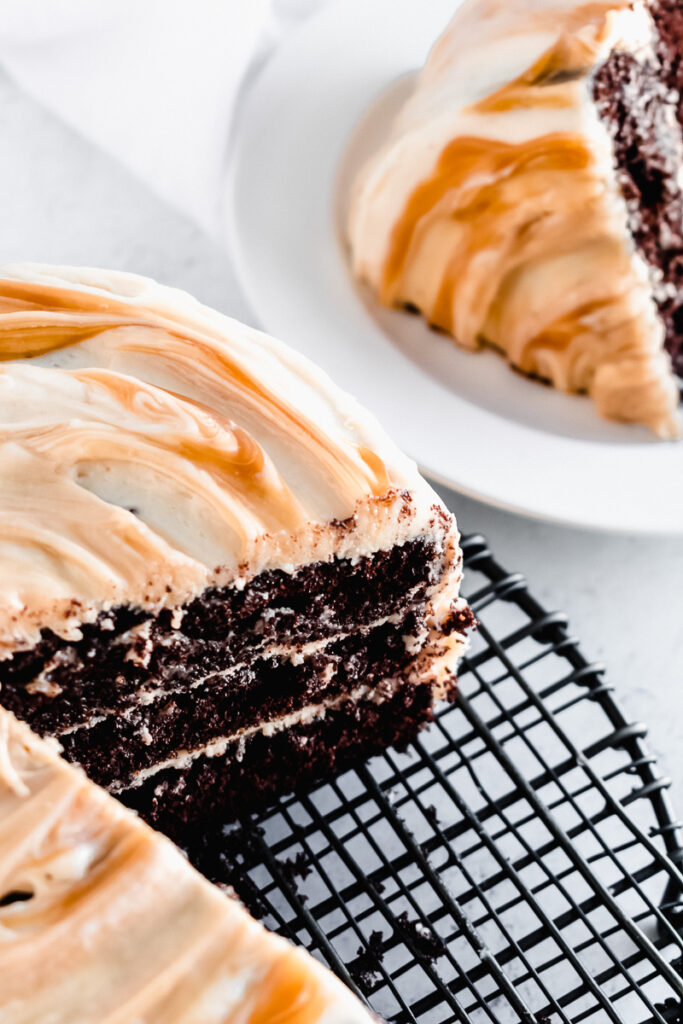
If you’re just not really into everything #pumpkinspice this time of year, then I have just the treat for you! This salted caramel mocha layer cake is fudgy, gooey and full of sweet and salty flavors to satisfy your sweet tooth!
This post contains affiliate links. This means I may earn a commission should you choose to make a purchase using my link. It’s okay – I love and use all of these products, and you will too!
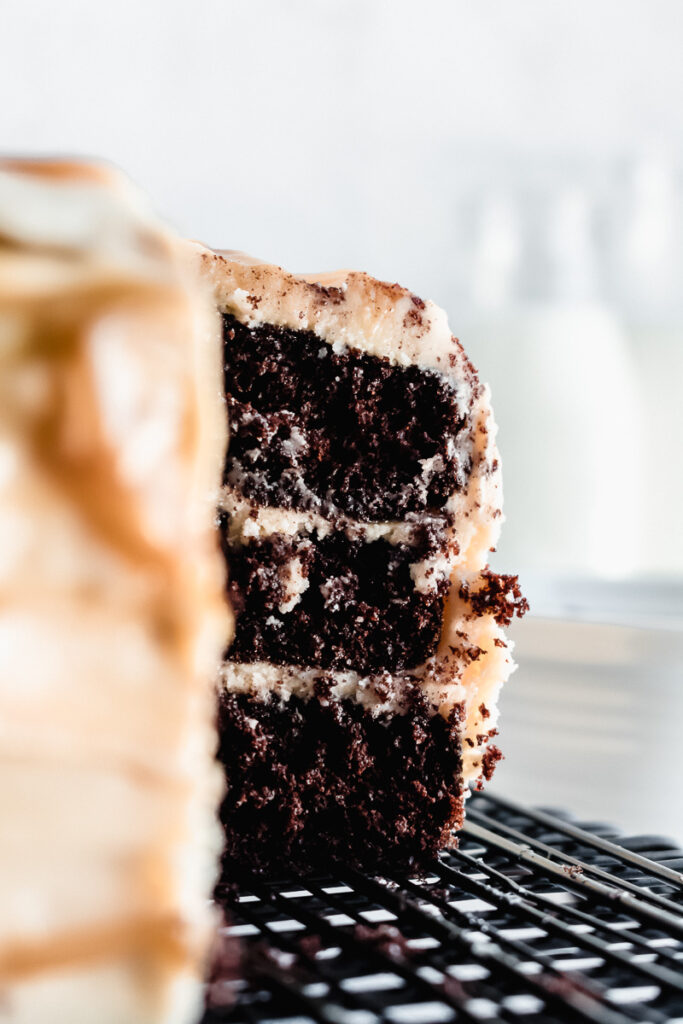
Yikes, I haven’t posted on here in quite awhile! Luckily for you, I have loads of fall recipes already on my site if you’re in the mood to bake something cozy! But these past couple of weeks, I’ve been working on a yummy chocolate recipe that you can bake if you’re in the fall mood but don’t want a pumpkin dessert! This salted caramel mocha layer cake is full of all the cozy flavors – coffee, caramel, and chocolate of course! Read on for how to make this yummy, fudgy, chocolate-layer cake.
Ingredients for Salted Caramel Mocha Layer Cake
Most recipes that I’ve seen for salted caramel desserts require you to make your own homemade caramel. But, ain’t nobody got time for that! To save you the hassle, I’ve included my favorite pre-made caramel sauce in this recipe – Stonewall Kitchen’s Sea Salt Caramel Sauce is just perfect!
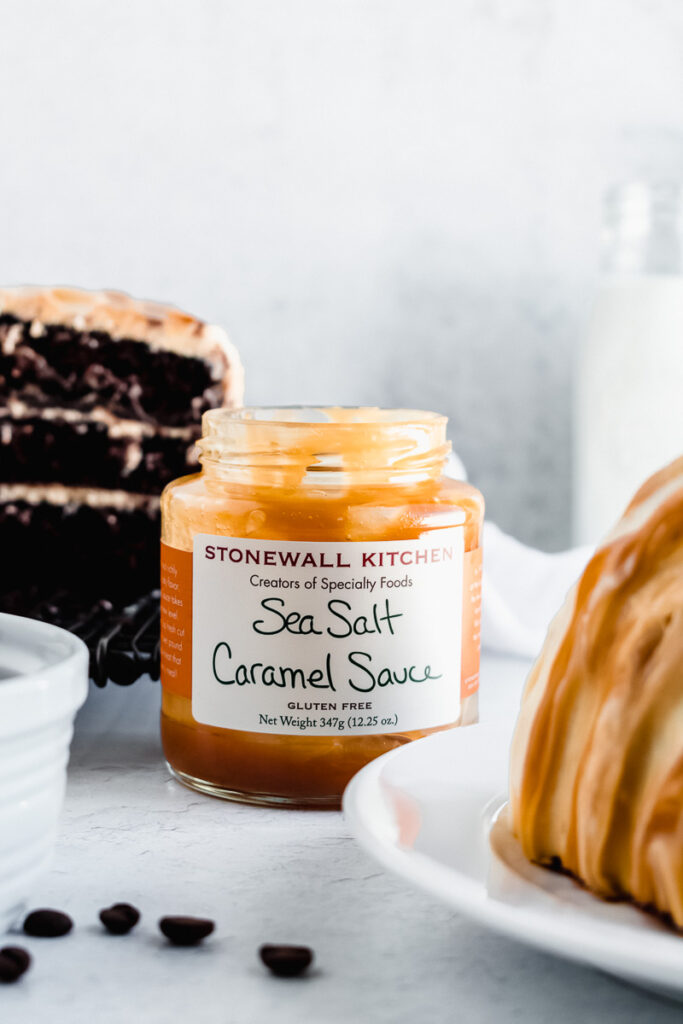
Along with a good quality store-bought caramel sauce, you’ll need a few other special ingredients:
Espresso Powder – I’d recommend either the DeLallo or King Arthur!
Dutch Processed Cocoa Powder – If you’ve been around here long enough then you know I LOVE Rodelle Dutch Processed Cocoa. You just can’t go wrong with it! It gives all of your chocolate desserts such a deep, rich, dark chocolate flavor. And it has a higher fat content than most cocoa powders, helping to make your cakes/muffins/cupcakes extra moist and yummy!
High-Quality Vanilla Extract – I was gifted a bottle of this Rodelle Reserve Vanilla Extract and oh my… you must try it to understand its goodness! This product is a bit spendy, but totally worth it if you’re into good quality, fair-trade baking products. I’d recommend their Vanilla Bean Paste as a cheaper option that still packs a bold vanilla punch!
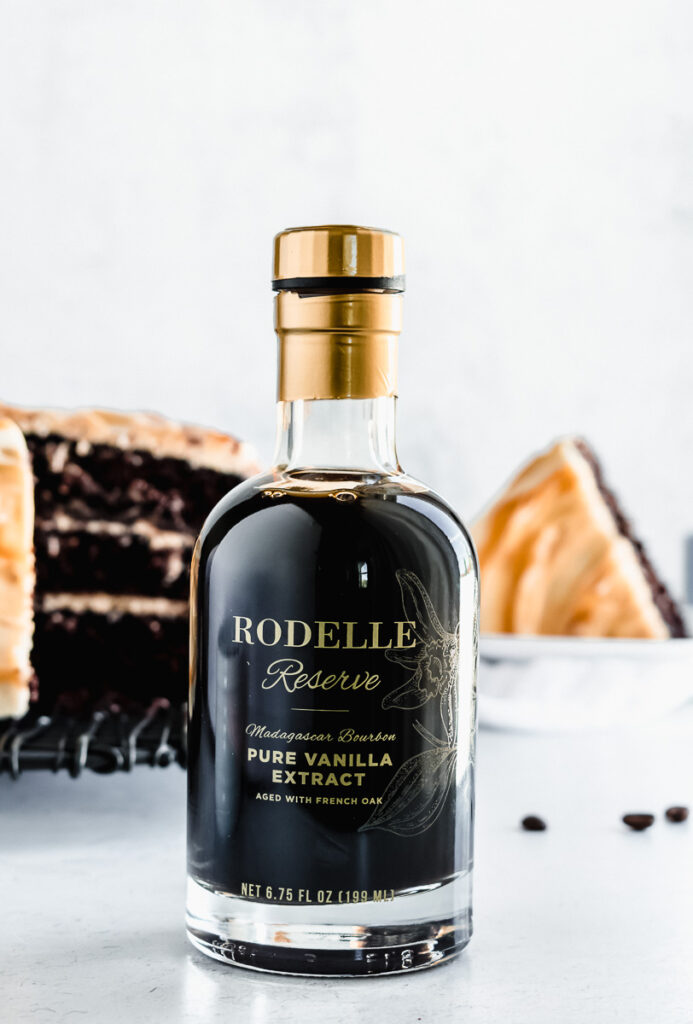
Other than these few items, the rest of the ingredients for this salted caramel mocha layer cake are your basic eggs, flour, sugar, etc.!
High Altitude Adjustments for Cakes
For reference, I live at 5,800 feet. These adjustments would likely give you the result that you are looking for if you live within a few hundred feet of where I am at. But high altitude baking can be a lot of trial and error! This should give you a starting point to go off of to experiment with your own ingredients at whatever elevation you live at! I would also recommend checking out this guide here.
High Altitude Adjustments for Mocha Layer Cake
- Baking Powder – decrease to 3/8 tsp. You can see this table on King Arthur’s website for how to adjust leavening agents for higher elevations (scroll down a ways to the “Leavening” section on their site). For my elevation, I typically cut all leavening agents in half. This allows for the right chemical reactions to happen between the other ingredients for the perfect rise. If there is too much leavening within the batter, not all of it gets used up (not all of it reacts with the other ingredients). You are then left over with a soapy bitter-tasting baked good due to the excess baking soda or baking powder in the batter.
- Baking Soda– decrease to 1 tsp. The same reasoning as for the baking powder above!
- Eggs – use 4 eggs instead of 3. This will keep the baked good from drying out at a higher baking temperature and evaporation rate. If I am baking a cake or cupcakes, I like to add one more egg to increase the liquids in the recipe. This should hold true at most higher elevations, but experiment with it, of course!
- Increase oven temperature to 370° F. Since rising and evaporation proceed more quickly at higher elevations, you will want to use a higher baking temperature to set the structure of the baked goods so that they don’t sink in the middle and dry out on the edges. I recommend starting with increasing the baking temperature stated in the recipe by 15° F and go up from there in small increments (all the way up to 25° F increase if needed).
- Decrease baking time by 5 or more minutes. This is because you will be baking at a higher temperature. You don’t want your cake to burn! I usually decrease by 5-8 minutes per 30 minutes of baking time and adjust from there. Keep a close eye on your dessert in the oven while you are experimenting with time and baking temps.
Special Tools
Whenever I have odd measurements, like 3/8 tsp., I like to use my Pampered Chef measuring spoons! They come in tons of different sizes to satisfy all of your baking needs.
Lastly, if you have specific questions on high-altitude adjustments, feel free to contact me and we can work them out!
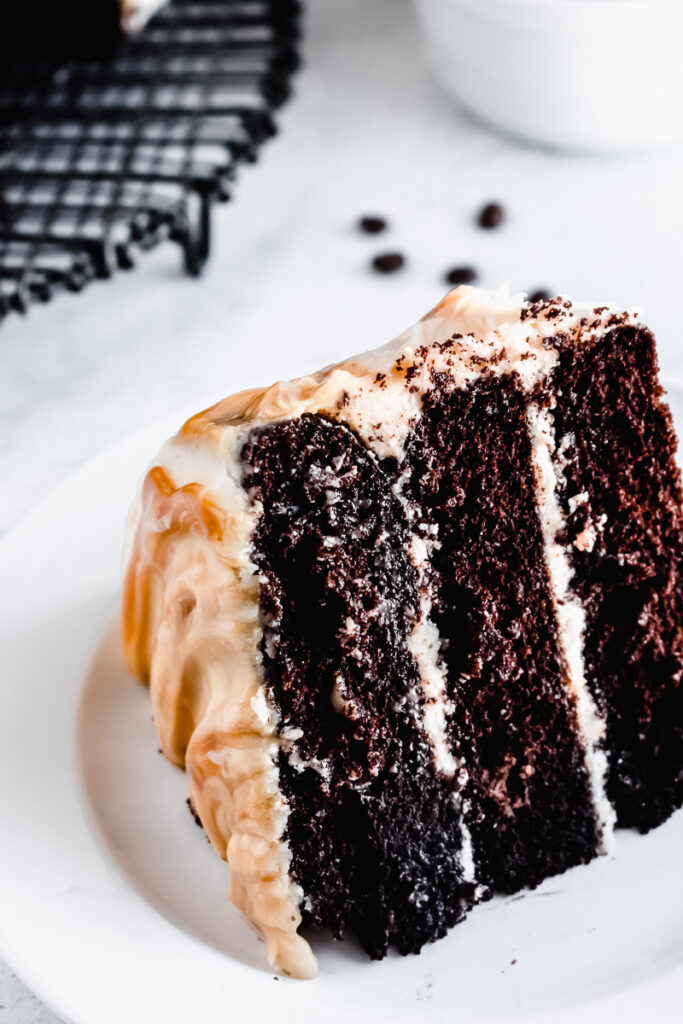
I hope that you enjoy this fudgy, gooey, salted caramel mocha layer cake! If you’re looking for similar recipes, check these out!
- Spiced Vanilla Chai Cake
- Easy Buttermilk Spice Cake with Cream Cheese Frosting
- Caramel Coffee Sheet Cake with Espresso Buttercream
- Oatmeal Chocolate Chip Cookie Cake
- Caramelized Burnt Sugar Cake
- The Best Caramel Apple Coffee Cake
And as always, be sure to tag me in your photos on Instagram if you make my recipe or use #bucketsofyum in your photos! I love to see what you are baking.
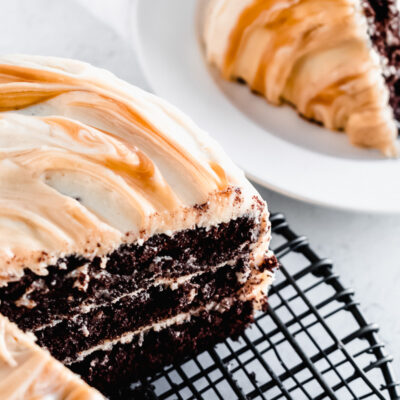
Super Fudgy Salted Caramel Mocha Layer Cake
Ingredients
For the Mocha Cake
- 1¾ cup minus 2 tbsp all-purpose flour
- 2 cups minus 2 tbsp granulated sugar
- ¾ cups dutch-processed cocoa powder
- 2 tsp baking soda
- ¾ tsp baking powder
- 1 tsp salt
- 1 cup hot water
- 2 tsp espresso powder
- 1 cup full-fat buttermilk (room temperature)
- ½ cup vegetable or canola oil
- 3 large eggs (room temperature)
- 1 tsp vanilla extract
For the Salted Caramel Frosting
- 2 cups unsalted butter
- 6 cups powdered sugar
- ¾ cup caramel sauce (plus more to spread between the cake layers)
- ¼ tsp salt
- 1 tbsp milk (more if frosting is too thick)
Instructions
For the Mocha Cake
- Preheat oven to 360°F. Spray three 8-inch cake pans with nonstick spray and line the bottoms with rounds of parchment paper. Set aside.
- In the bowl of a stand mixer fitted with the paddle attachment, or in a large bowl with a handheld mixer, combine the flour, sugar, cocoa, baking soda, baking powder, and salt. Mix on low speed until combined.
- In a small bowl, combine the hot water and espresso powder until the powder is dissolved. Set aside to cool
- In another bowl, combine the buttermilk, oil, eggs, and vanilla. Add in the cooled water and espresso powder mixture. Mix until combined.
- With the mixer on low speed, slowly add the wet ingredients to the dry, scraping the bottom of the bowl with a rubber spatula.
- Evenly distribute batter between the three pans. Bake for 16-20 minutes, or until a toothpick inserted in the center comes out with a few moist crumbs.
- Cool in pans for 10 minutes, then transfer to wire racks to cool completely.
For the Salted Caramel Frosting
- In the bowl of a stand mixer fitted with the paddle attachment, or in a large bowl with a handheld mixer, beat the butter until it is light and fluffy. Add the caramel sauce and mix until combined.
- With the mixer on low speed, add in the powdered sugar one cup at a time. Add the salt and milk (you can add more if the frosting is too thick).
- Increase speed of the mixer to medium and beat frosting until light and fluffy.
Assembly
- Level each cake layer using a serrated knife. I like to save the scraps for toppings on ice cream or yogurt!
- Place the first cake layer bottom side down on a flat plate or cake board. Using an offset knife, spread about ¾ cup of the frosting onto the top. Spread a tablespoon or two of caramel sauce on top of the frosting.
- Place the second layer on top of the first. Frost the top of the second layer and spread another tablespoon or so of caramel sauce on top.
- Place third cake layer, top side down, on top of the frosting.
- Crumb coat the entire cake with a thin layer of frosting. Freeze cake for about 10-15 minutes to set.
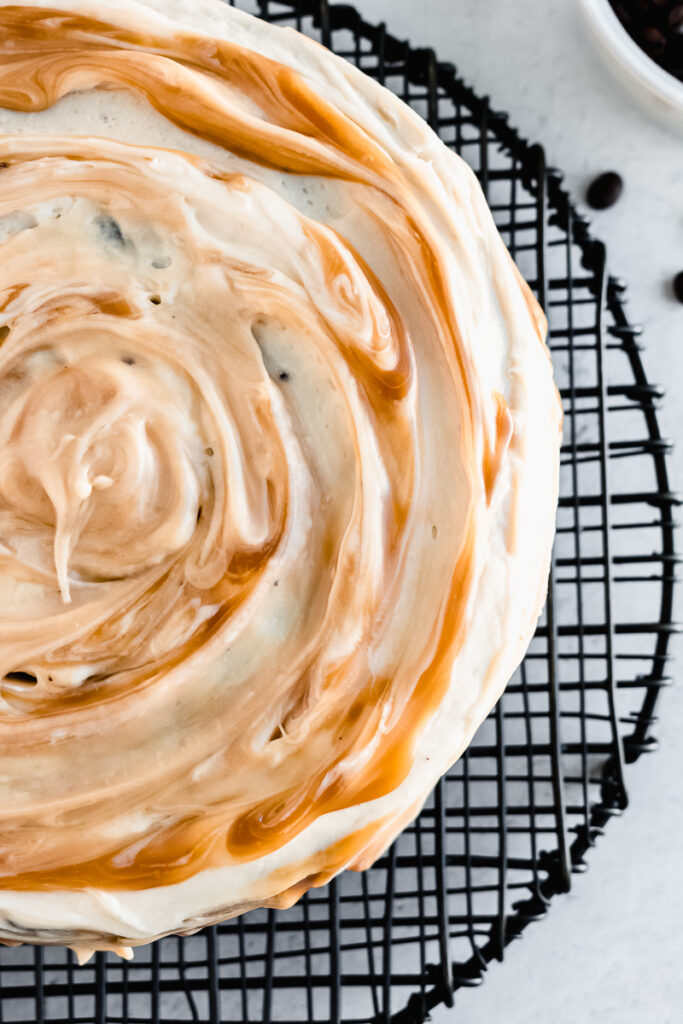
- Continue frosting cake with remaining frosting. You can drizzle a bit of caramel sauce on top if you want, or swirl in bits of caramel like I did.
Notes
- Cake can be stored in an airtight cake container for up to 2 days at room temperature.
- You can freeze individual slices of cake to pull out to eat later if you wish! Simply slice the cake and wrap each piece in plastic wrap and aluminum foil. Store the wrapped slices of cake in a freezer bag. When ready to eat, pull a slice of cake out of the freezer, unwrap and set on a plate at room temperature until thawed.
- Baking Powder – decrease to 3/8 tsp.
- Baking Soda – decrease to 1 tsp.
- Eggs – use 4 eggs instead of 3
- Increase oven temperature to 370° F
- Decrease baking time by 5 or more minutes
